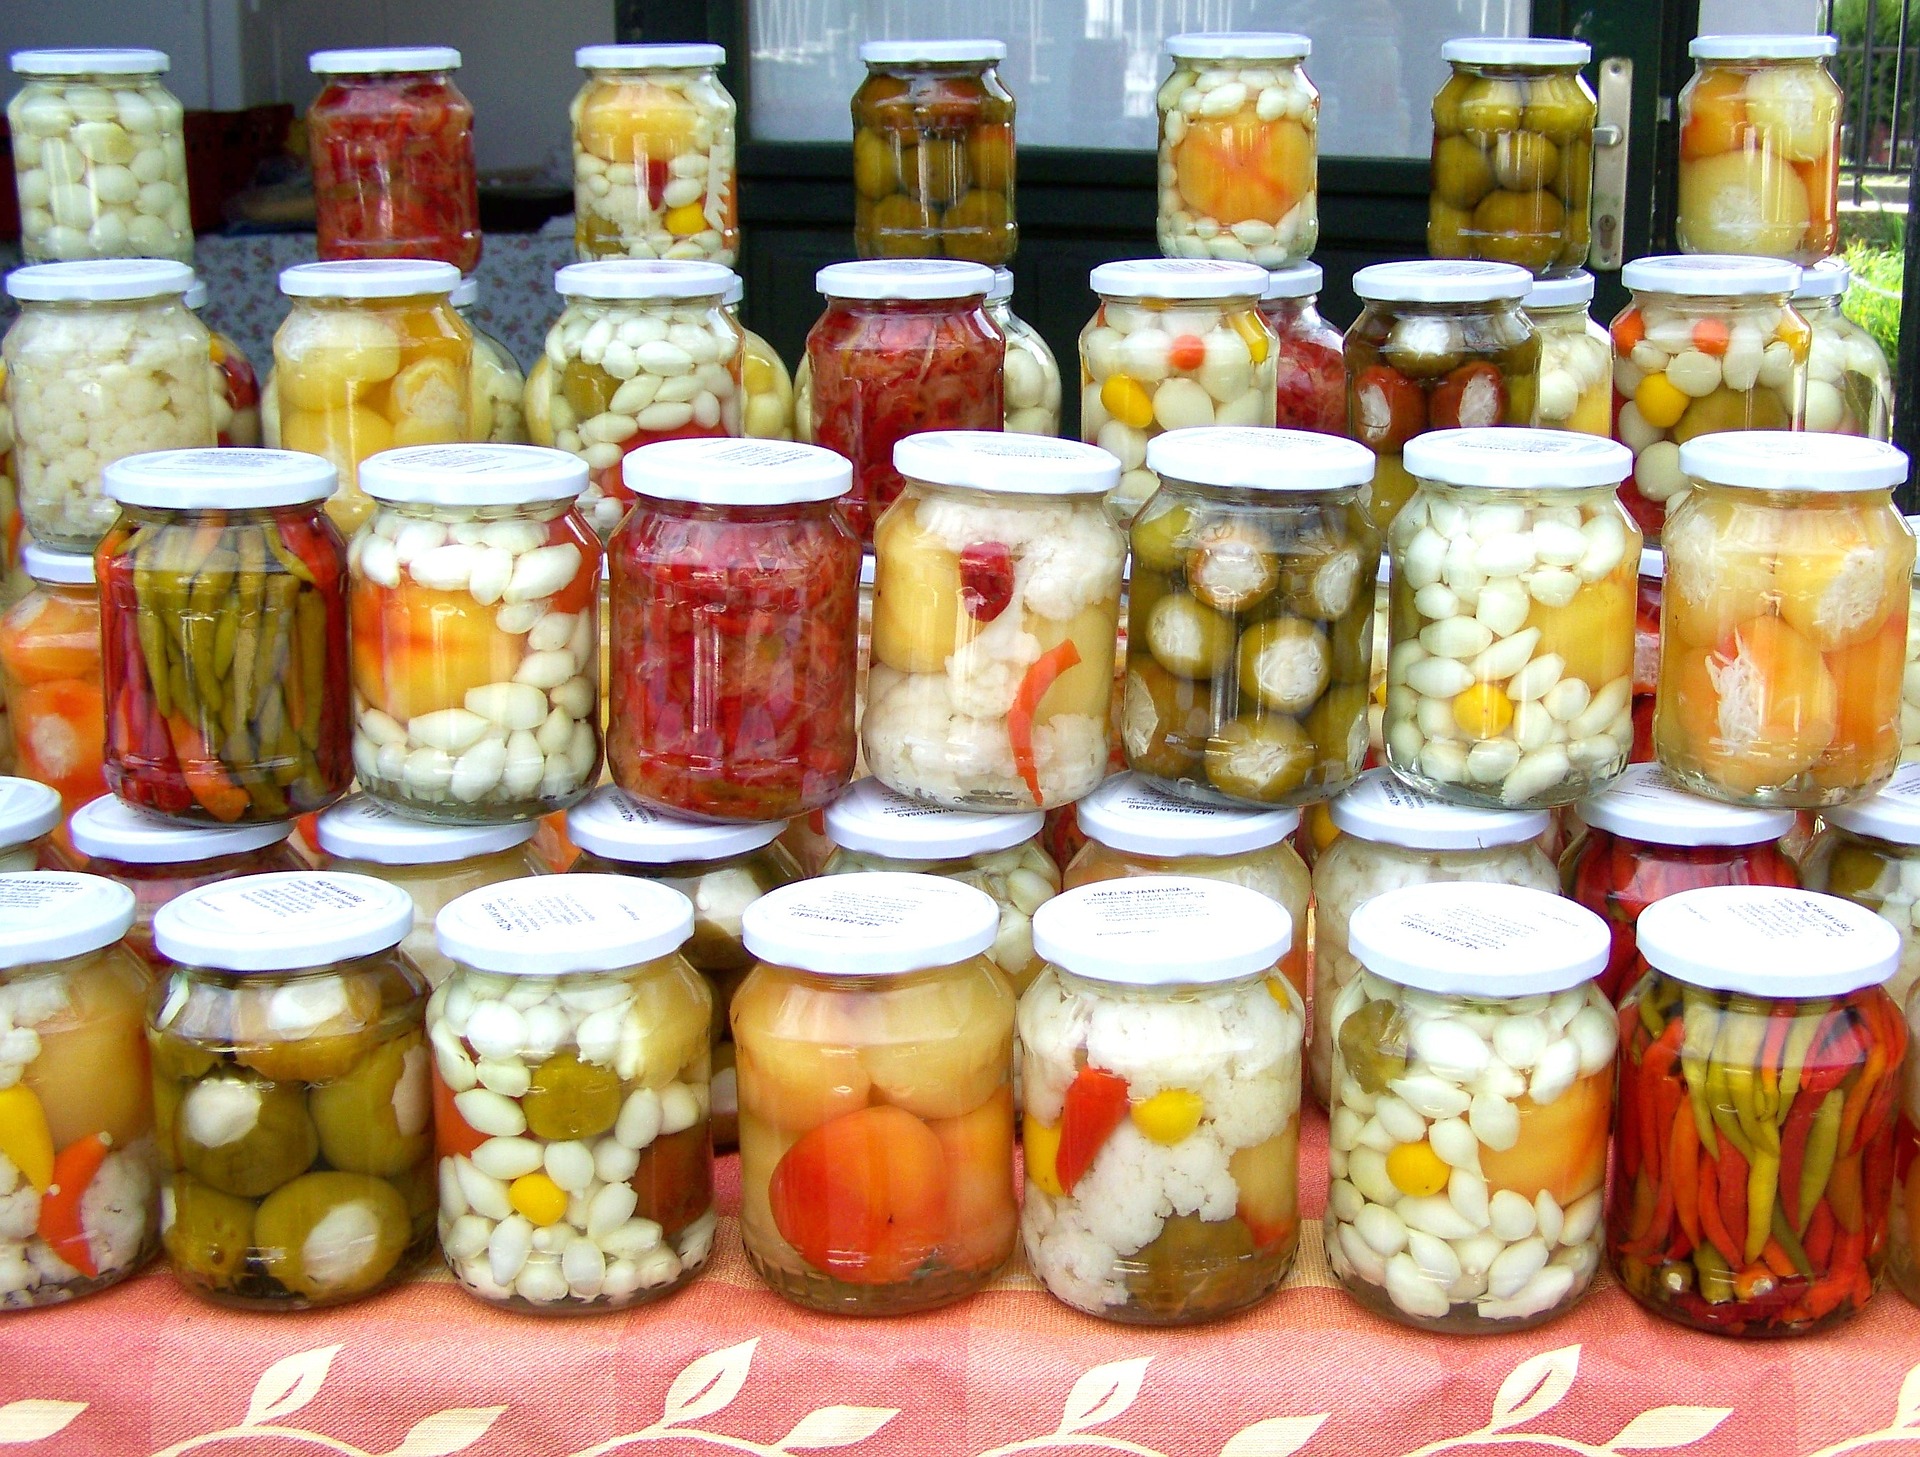
Pickling is a time-honoured tradition that dates back thousands of years, allowing cooks to preserve the bounty of the seasons. In recent years, there’s been a resurgence in homemade pickling, as food enthusiasts seek to capture the crispness and tang of fresh produce. This Ultimate Guide will take you through the step-by-step process of pickling at home, ensuring you can enjoy the delights of your own preserved vegetables and fruits year-round.
Step 1: Choose Your Produce First, select fresh, high-quality produce. The best pickles start with the best ingredients. Cucumbers, carrots, onions, and cauliflower are classic choices, but don’t be afraid to experiment with fruits like apples or pears.
Step 2: Prepare the Brine The brine is a simple solution of vinegar, water, and salt. For every 2 cups of water, use 1 cup of vinegar (apple cider, white, or wine vinegar) and 2 tablespoons of pickling salt. This ratio ensures the proper acidity needed for preservation.
Step 3: Add Flavour with Spices Here’s where you can get creative. Mustard seeds, coriander seeds, dill, and peppercorns are traditional, while spices like turmeric can add vibrant colour and flavour. Add your chosen spices to the brine.
Step 4: Clean and Cut Your Produce Wash your produce thoroughly. Then, depending on the produce, cut it into the desired size and shape – spears, slices, or whole.
Step 5: Sterilise Jars and Lids Before you start pickling, it’s crucial to sterilise your jars and lids to prevent bacteria growth. Boil them in water for at least 10 minutes and then leave them to dry.
Step 6: Pack the Jars Tightly pack your produce into the sterilised jars, leaving about a half-inch of space at the top. You can add additional flavourings here, such as garlic cloves or fresh herbs, for extra zest.
Step 7: Pour the Brine Bring your brine to a boil and then carefully pour it over the produce in the jars, ensuring to cover them completely while still leaving the half-inch headspace.
Step 8: Seal the Jars Wipe the rims of the jars with a clean cloth, place the lids on top, and screw on the rings until they are fingertip tight. This allows for the heat to escape during the sealing process.
Step 9: Process in a Water Bath To ensure the jars are sealed and the contents are preserved, process them in a boiling water bath. The time will vary depending on the size of the jars and the type of produce, but a general guideline is 10 minutes for pint jars.
Step 10: Test the Seal and Store After processing, remove the jars and let them cool undisturbed for 24 hours. Check that the seals are tight — the lids should not flex when pressed in the center. Label your jars with the date, and store them in a cool, dark place. They will need to sit for a few weeks to develop the best flavor, but once opened, keep them refrigerated and enjoy within a month for maximum crispness.
Step 11: Enjoy Your Pickles Now, the best part – tasting your homemade pickles! They’re a crunchy addition to sandwiches, a tangy complement to cheese boards, or simply delightful straight from the jar.
Conclusion Homemade pickling is a satisfying venture that combines the joys of cooking with the anticipation of tasting. It’s an excellent way to reduce food waste, experiment with flavours, and perhaps most importantly, keep a connection to the food traditions of the past alive. Whether you’re a seasoned pickler or a curious newcomer, the process is straightforward and the results are invariably delicious. So why not give it a try? Your taste buds will thank you. Happy pickling!
